Calculating deductions
IMPORTANT: If you are an administrator with read/write permissions, take care to use Save only if you intend to save results. Failure to do so will also save the current filtered data in the Deductions Model calculator. To test if this has occurred, open the file with Open Without Refresh option to see if filtered data exists. If it does, then contact Syntellis support to have the data within each AQ Axiom Query’s start/stop tag deleted and the file resaved as Save.
The Deductions Model calculator computes the contractuals and allowances for the rolling forecast period. After you set up payors in the Payor Setup utility, most of the work is performed on the calculator’s Deductions tab.
The Deductions tab has four main sections: Volume, Revenue, Reimbursement, and Administrative and Other Adjustments.
To use the RF Deductions Model calculator:
TIP: When working in the Deductions tab, to navigate quickly to a section in the sheet, on the Main ribbon tab, click GoTo > Section > [listed section].
-
Open the Deductions Model calculator:
- In the RF Admin task pane, in the Other Calculators section, double-click Deductions Model.
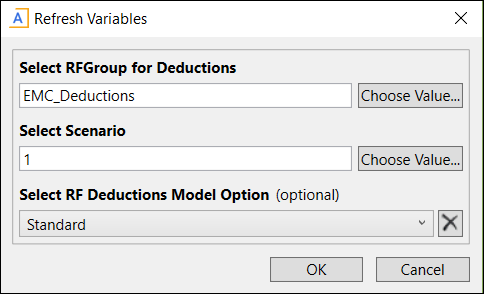
- In the Refresh Variables dialog, for Select an RFGroup for deductions, click Choose Value, and then select an RF deductions group.
- If you set up payor categories, do one of the following, otherwise, skip to step d:
- Select Uncategorized Payors – Select the checkbox to include only payors that are not assigned to a payor category. If you select this option, the option to select a payor category is no longer available.
- (Optional) Select Payor Category – To limit payors to one of the categories, click Choose Value, then select a category, and then click OK.
To include all payors, leave the checkbox and the Select Payor Category blank:
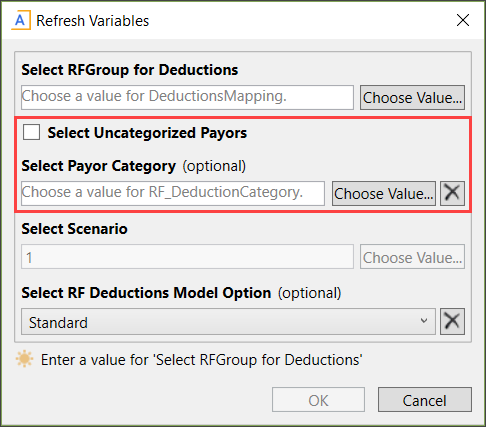
- For Select Scenario, click Choose Value, and then select the scenario.
- (Optional) To use an alternate configuration to present data in a format more consistent with outpatient reporting, from the Select RF Deductions Model Option drop-down, select one of the following:
- Standard: Displays all sections of the model for Inpatient and Outpatient data.
Physician Only: Hides and deactivates AQ Axiom Querys for Inpatient leaving only Outpatient related sections of the model visible.:
-
Click OK.
-
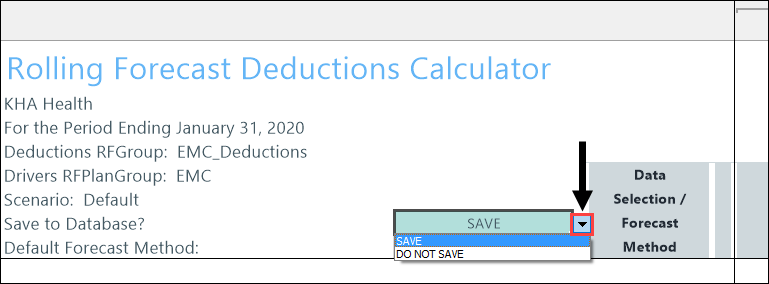
Select a Save option for the calculator: at the top of the sheet in the Save to Database? drop-down, select one of the following:
- Save – Saves all data in the calculator to the database.
-
Do Not Save – Does not save anything to the database. Saves your temporary work in the calculator only. Select this option if you are working in the sheet and do not want your work to save to the database.
IMPORTANT: Be careful about saving to the database, because when you select Last Saved as the calc method for any item, the calculator will retrieve whatever was last saved to the database for that item.
-
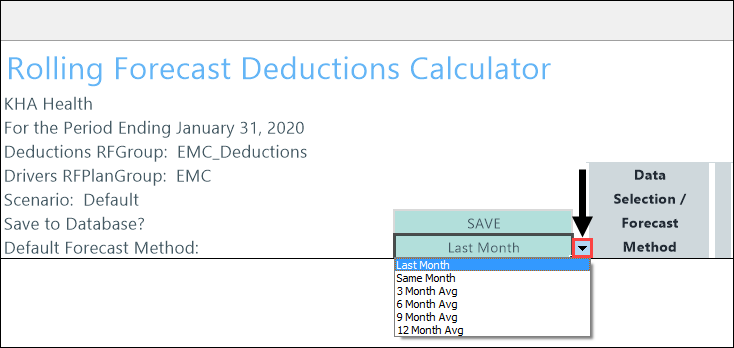
Select a default Forecast Method: from the Default Forecast Method drop-down, select the default forecast method to use. This sets the forecast method in the Data Selection/Forecast Method column as the default for all payors. You can override this default at the individual payor level in other sections of the sheet.
-
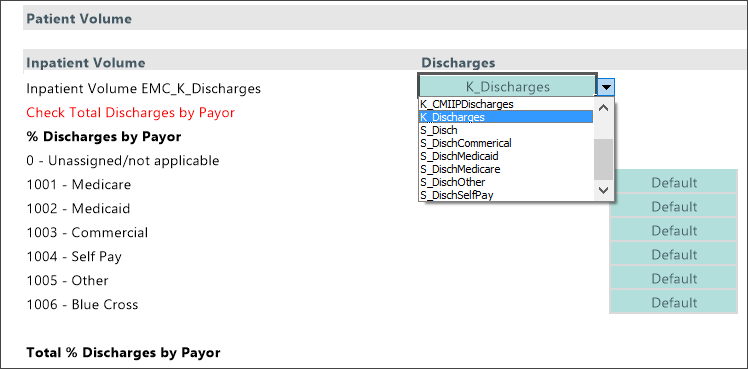
For Inpatient Volume, select the section data driver and calculation methods for payors:
-
From the drop-down, select the data driver. In the following example, a discharges RF Code is selected as the driver for the Inpatient Volume. However, you can select an Admissions RF Code, which changes the entire block to Admissions, pulling in admissions data based on the selected RF Code.
-
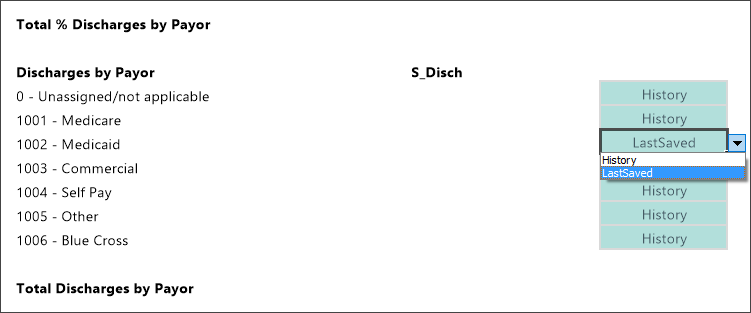
To change the calc method for any payor in this section, in the Discharges/Admissions by Payor block, select the option from the drop-down for that payor.
-
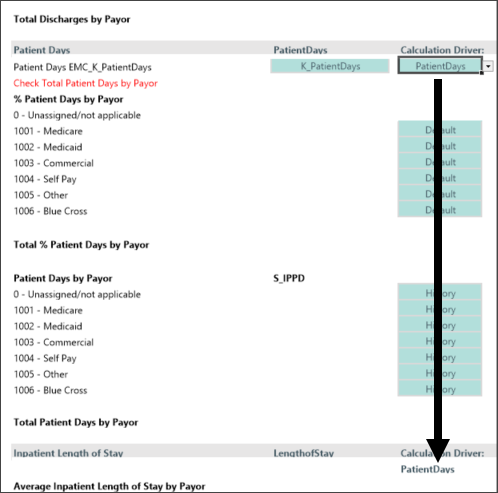
- In the Patient Days section, make the following selections:
- From the PatientDays drop-down, select the data driver.
For Inpatient Length of Stay, in the Patient Days header, select the driver from the Calculation Driver drop-down. Your selection displays in the Inpatient Length of Stay header row, as shown in the following example:
- To select a calc method different from the default for any payor, select one from the drop-down.
- To select a forecast method different from the default for any payor, in the Data Selection/Forecast Method column of the payor’s row, select a forecast method from the drop-down.
- For Outpatient Visits, select the following:
- From the OPVisits drop-down, select the RF Code data driver. This drop-down is populated with any RF Code that contains the word “visit.”
- For % Outpatient Visits by Payor, for payors that need a calc method different from the default, select one from the drop-down on the payor’s row.
- For Outpatient Visits by Payor, for payors that need calc methods different from the default, select one from the drop-down on the payor’s row.
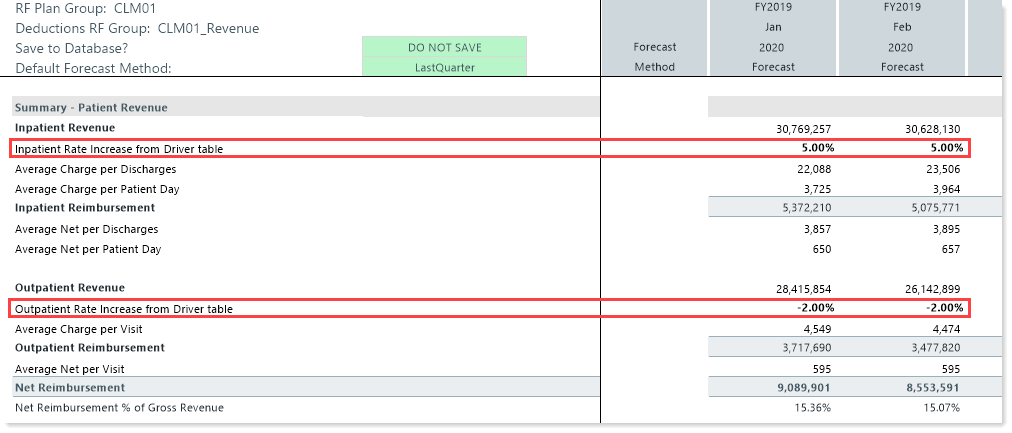
The patient revenue section brings in all your revenue and any rate increases or decreases from your driver table.
In the following example, for the forecast year, a 5% inflation factor is pulled from the driver table for Inpatient Rate Increase, and a -2% factor is pulled in for Outpatient Rate Increase. The calculator uses these adjustments when calculating the Inpatient Revenue and Outpatient Revenue amounts.
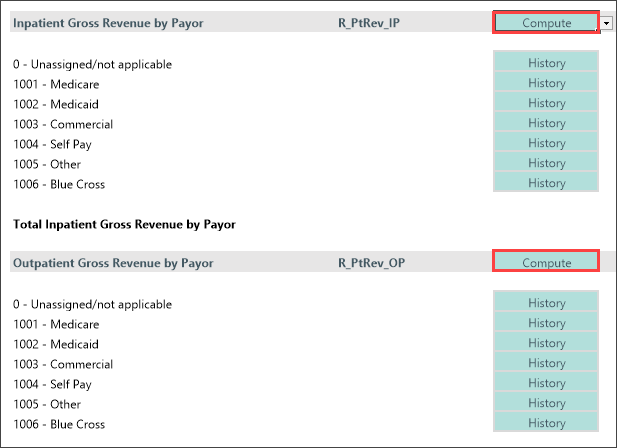
- For the Inpatient Gross Revenue by Payor and Outpatient Gross Revenue by Payor blocks, you can set to pull data from History or Last Saved. However, if you do not have Revenue by Payor in your Axiom system, you can enter this data manually in the blue cells.
- To change the forecast method for Inpatient / Outpatient gross revenue by payor, in the Forecast Method column, select one of the following:
- Compute – Performs a calculation to derive the amount.
Forecast – Uses the values set in the RF Forecast table.
-
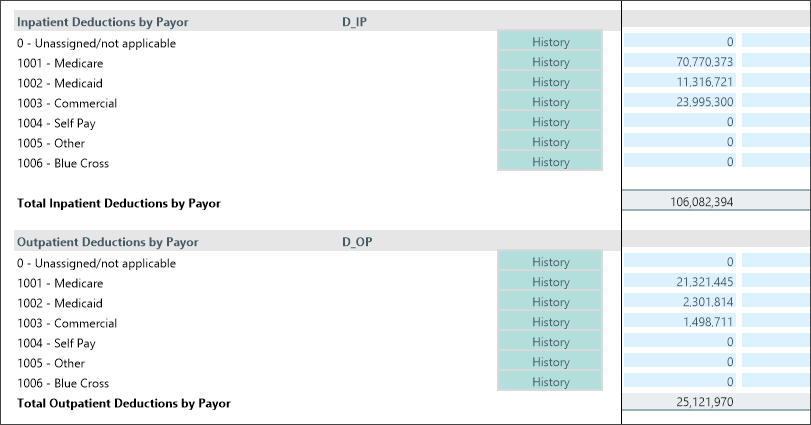
The Inpatient Deductions by Payor and Outpatient Deductions by Payor blocks function similarly to the Gross Revenue blocks: data is brought in based on the RF Code displayed in the D_IP and D_OP columns for each payor; or, you can enter the amounts manually.
Reimbursements calculated in this section include Medicare followed by your configured payors.
- In the Medicare Reimbursement section, do the following:
For Inpatient - Medicare, select the reimbursement methodology from the drop-down. Note that the selected methodology causes a drop-down to appear in the row of the related reimbursement type, as shown in the following example.
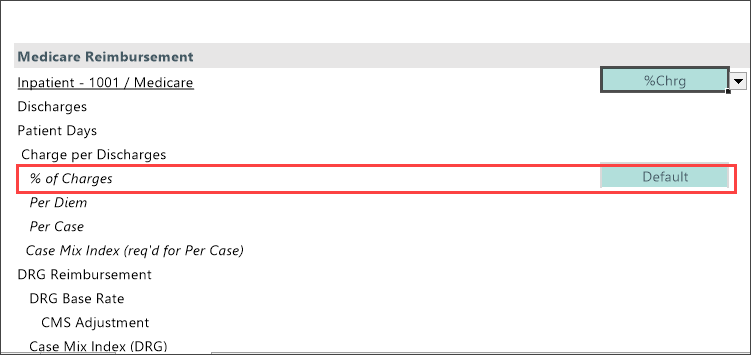
The calculations displayed in the month and quarter columns reflect the selected reimbursement methodology.
- In the rows for each item with a drop-down, select one of the following:
- Default – Uses the default formulas that were used prior to the changes you made.
- Last Saved – Uses the data from the last time you saved the calculator.
- In the Outpatient - Medicare section, select the reimbursement methodology, and, if needed, change the calc method.
-
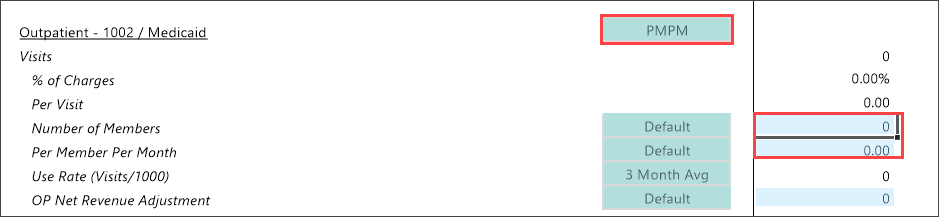
In the Medicaid Reimbursement section, if you select PMPM (Per Member Per Month) as the reimbursement methodology for the Inpatient or Outpatient blocks, you will need to manually enter the amounts in the blue cells of the Per Member Per Month row.
- For the rest of the payors in this section, select the reimbursement methodology and calc methods as needed. Remember that you can also change the forecast method for any payor.
This section includes Administrative Adjustments, Charity, and Bad Debt.
You can select to have the total amounts in each section broken out by inpatient and outpatient totals or display a single total that combines both. This setting is controlled on the PayorCodes tab. For information on setting this, see Set Total types for Administrative Adjustments, Charity, and Bad Debt in Set up the RF Deductions Model calculator.
For Administrative and Other Adjustments, Charity, and Bad Debt, you can select the calc methods from the drop-downs for each item, and you can also set the forecast method to be different from the default.
- Review the results of the calculations.
- Do one of the following:
If you are satisfied with your changes and you want to post the values to the database, from the Save to Database? drop-down at the top of the sheet, select Save.
If you are not ready to post the values to the database, from the Save to Database? drop-down, select DO NOT SAVE.
-
On the Main ribbon tab, click Save.
